Opportunities & Pipelines / Getting Started with Opportunities
Editing Opportunities
Modified on: Fri, 8 May, 2026 at 7:26 AM
OmniReach offers robust tools for managing opportunities, enabling users to efficiently update information to keep pace with evolving sales processes. In this comprehensive guide, we'll explore the step-by-step process of editing opportunities in OmniReach, empowering you to streamline your sales workflow.
In this Article
Step 1: Accessing the Opportunities Section
- Log in to your OmniReach account.
- Navigate to the "Opportunities" section from the sidebar menu.

Step 2: Locating the Opportunity to Edit
- Once you're in the Opportunities section, locate the opportunity you wish to edit.
- You can use search filters or browse through the list of opportunities to find the specific one you need to update.
- Click on the name or title of the opportunity to open its details page.
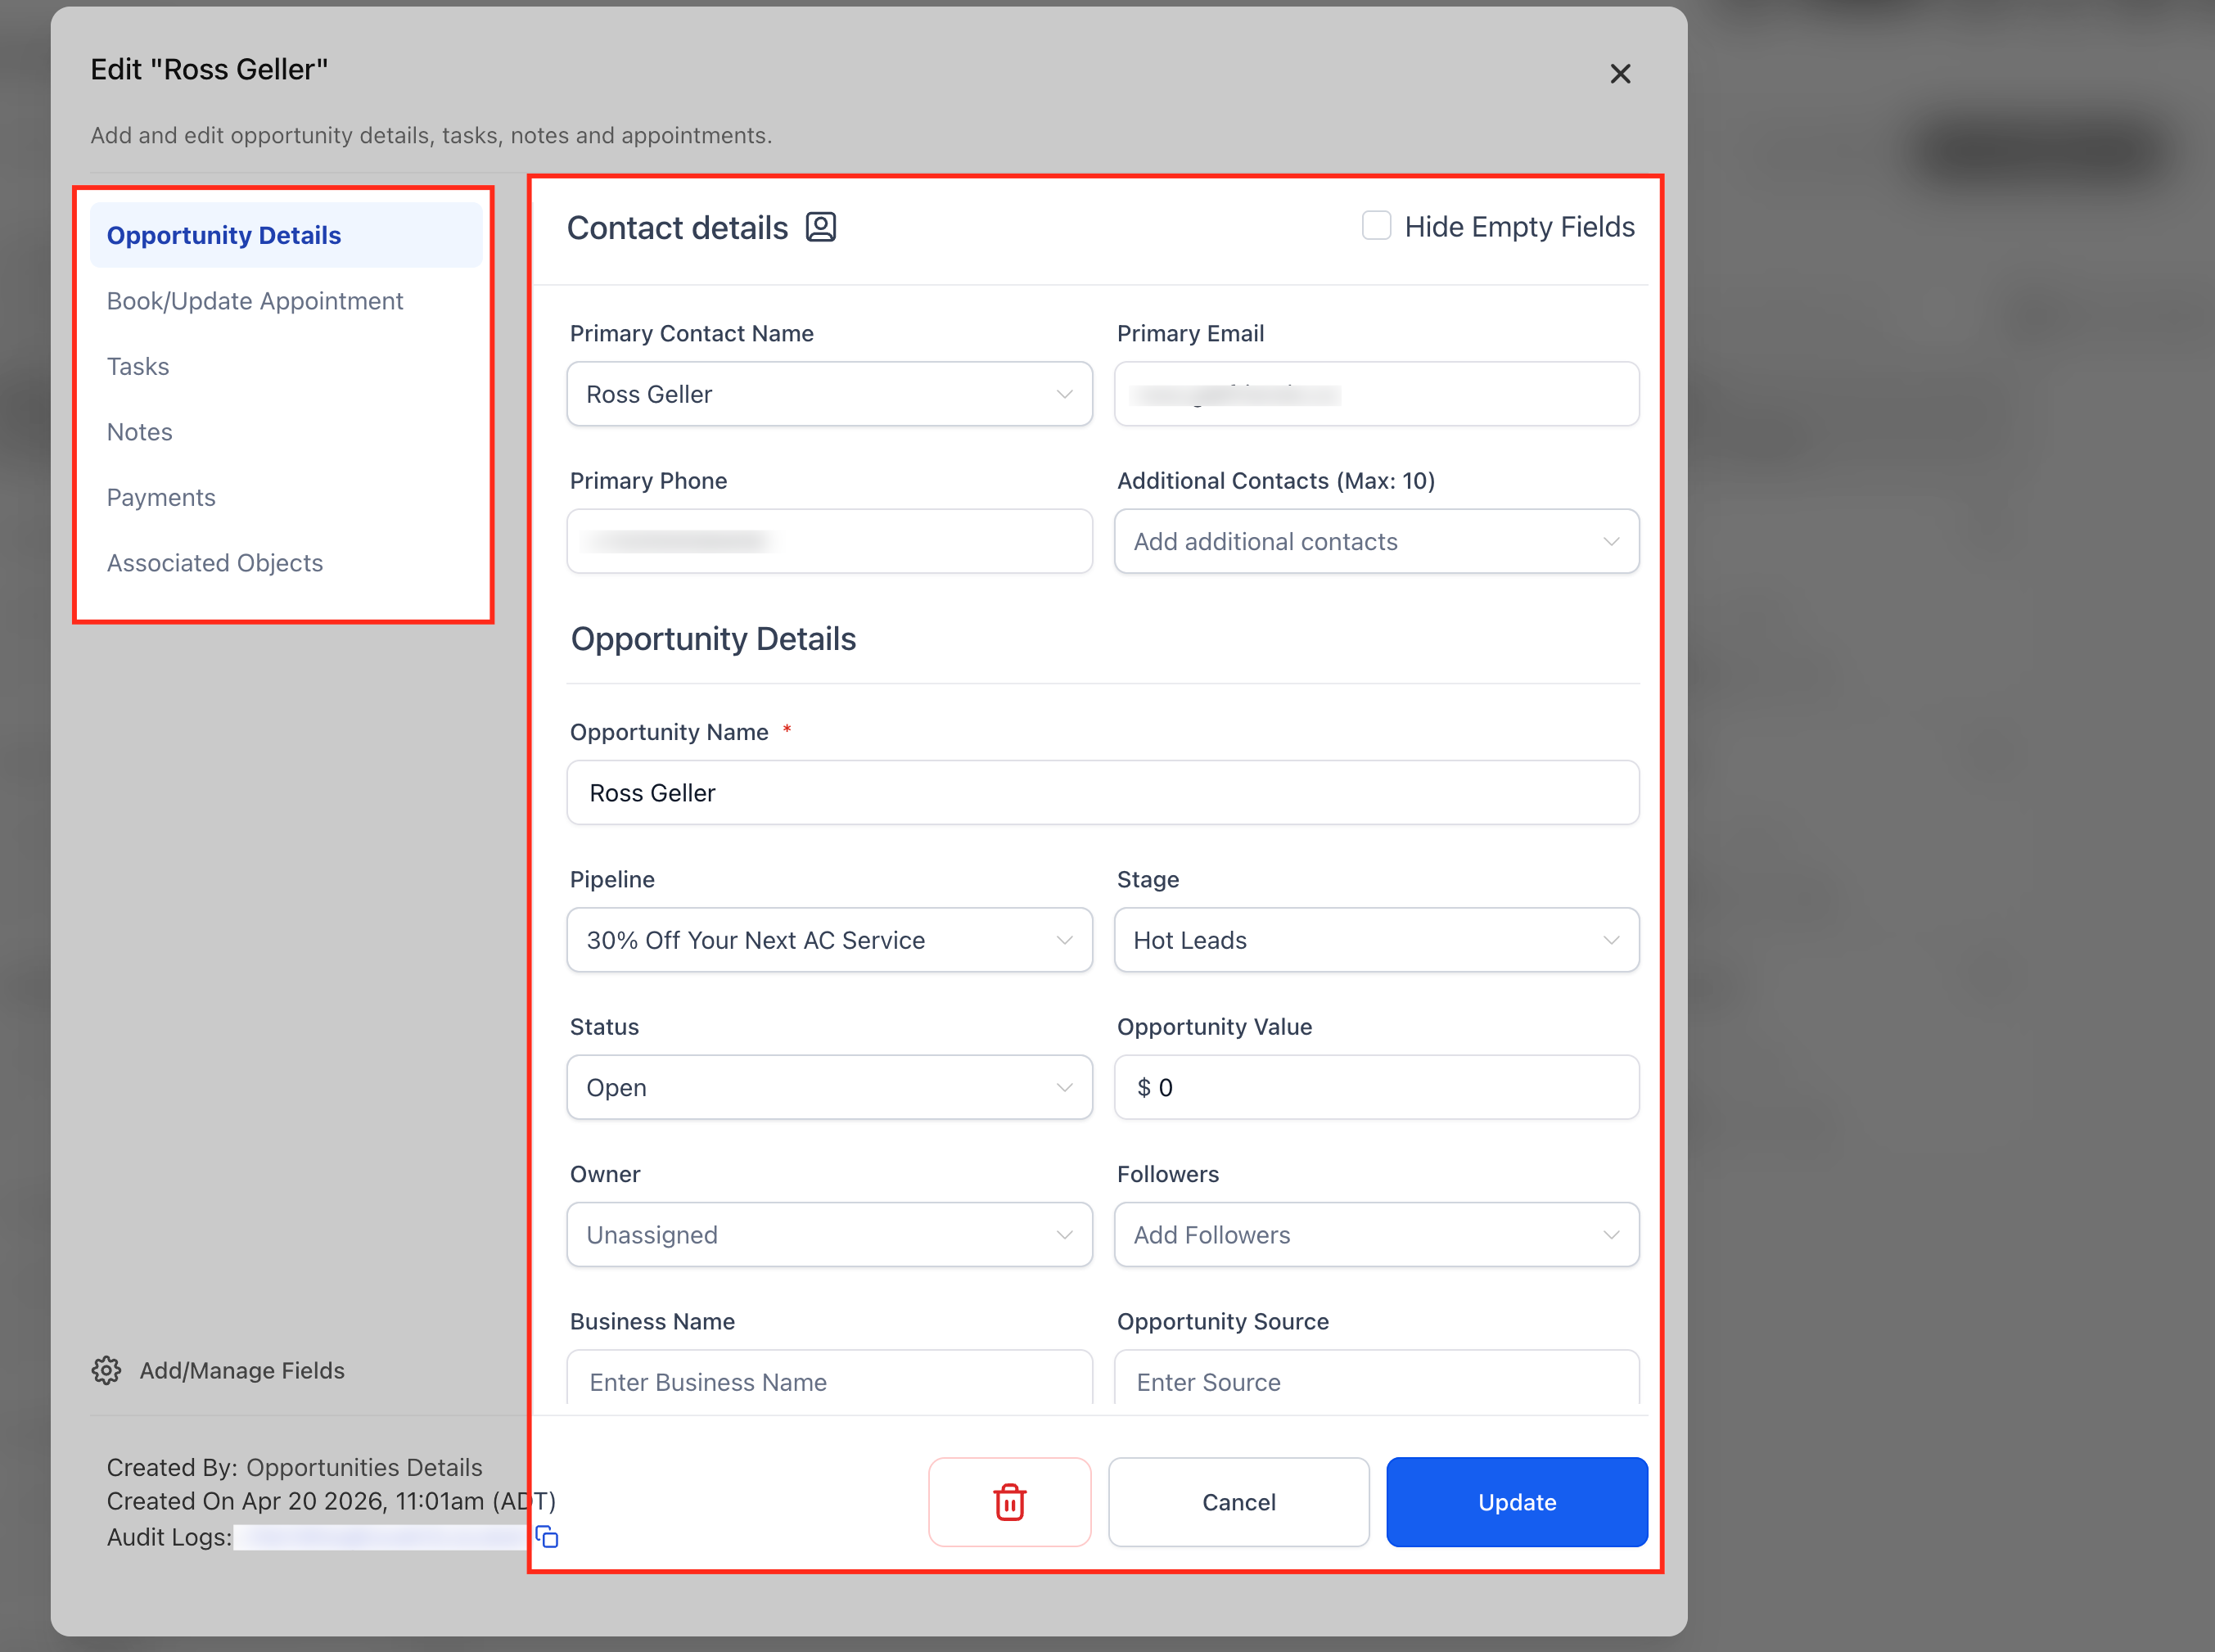
Step 3: Opening the Opportunity Details Page
- In the opportunity details page, you'll find fields containing information about the opportunity.
- Update any relevant details such as the contact's name, contact information, opportunity value, and opportunity source.
- You can also modify pipeline stages, owners, tags, or any other custom fields associated with the opportunity.
Step 4: Book or update an appointment
You can manage an appointment directly from the **Edit Opportunity** modal.
- Open Opportunities and select the opportunity.
- Open Book/Update Appointment.
- If no appointment exists, click + New Appointment, then choose Meetings, Services, or Rentals.
- If an appointment already exists, click on three dots to Edit, View, or Delete it.
- Edit opens the appointment with pre-filled details for faster updates.
Note: Each opportunity currently supports one appointment.

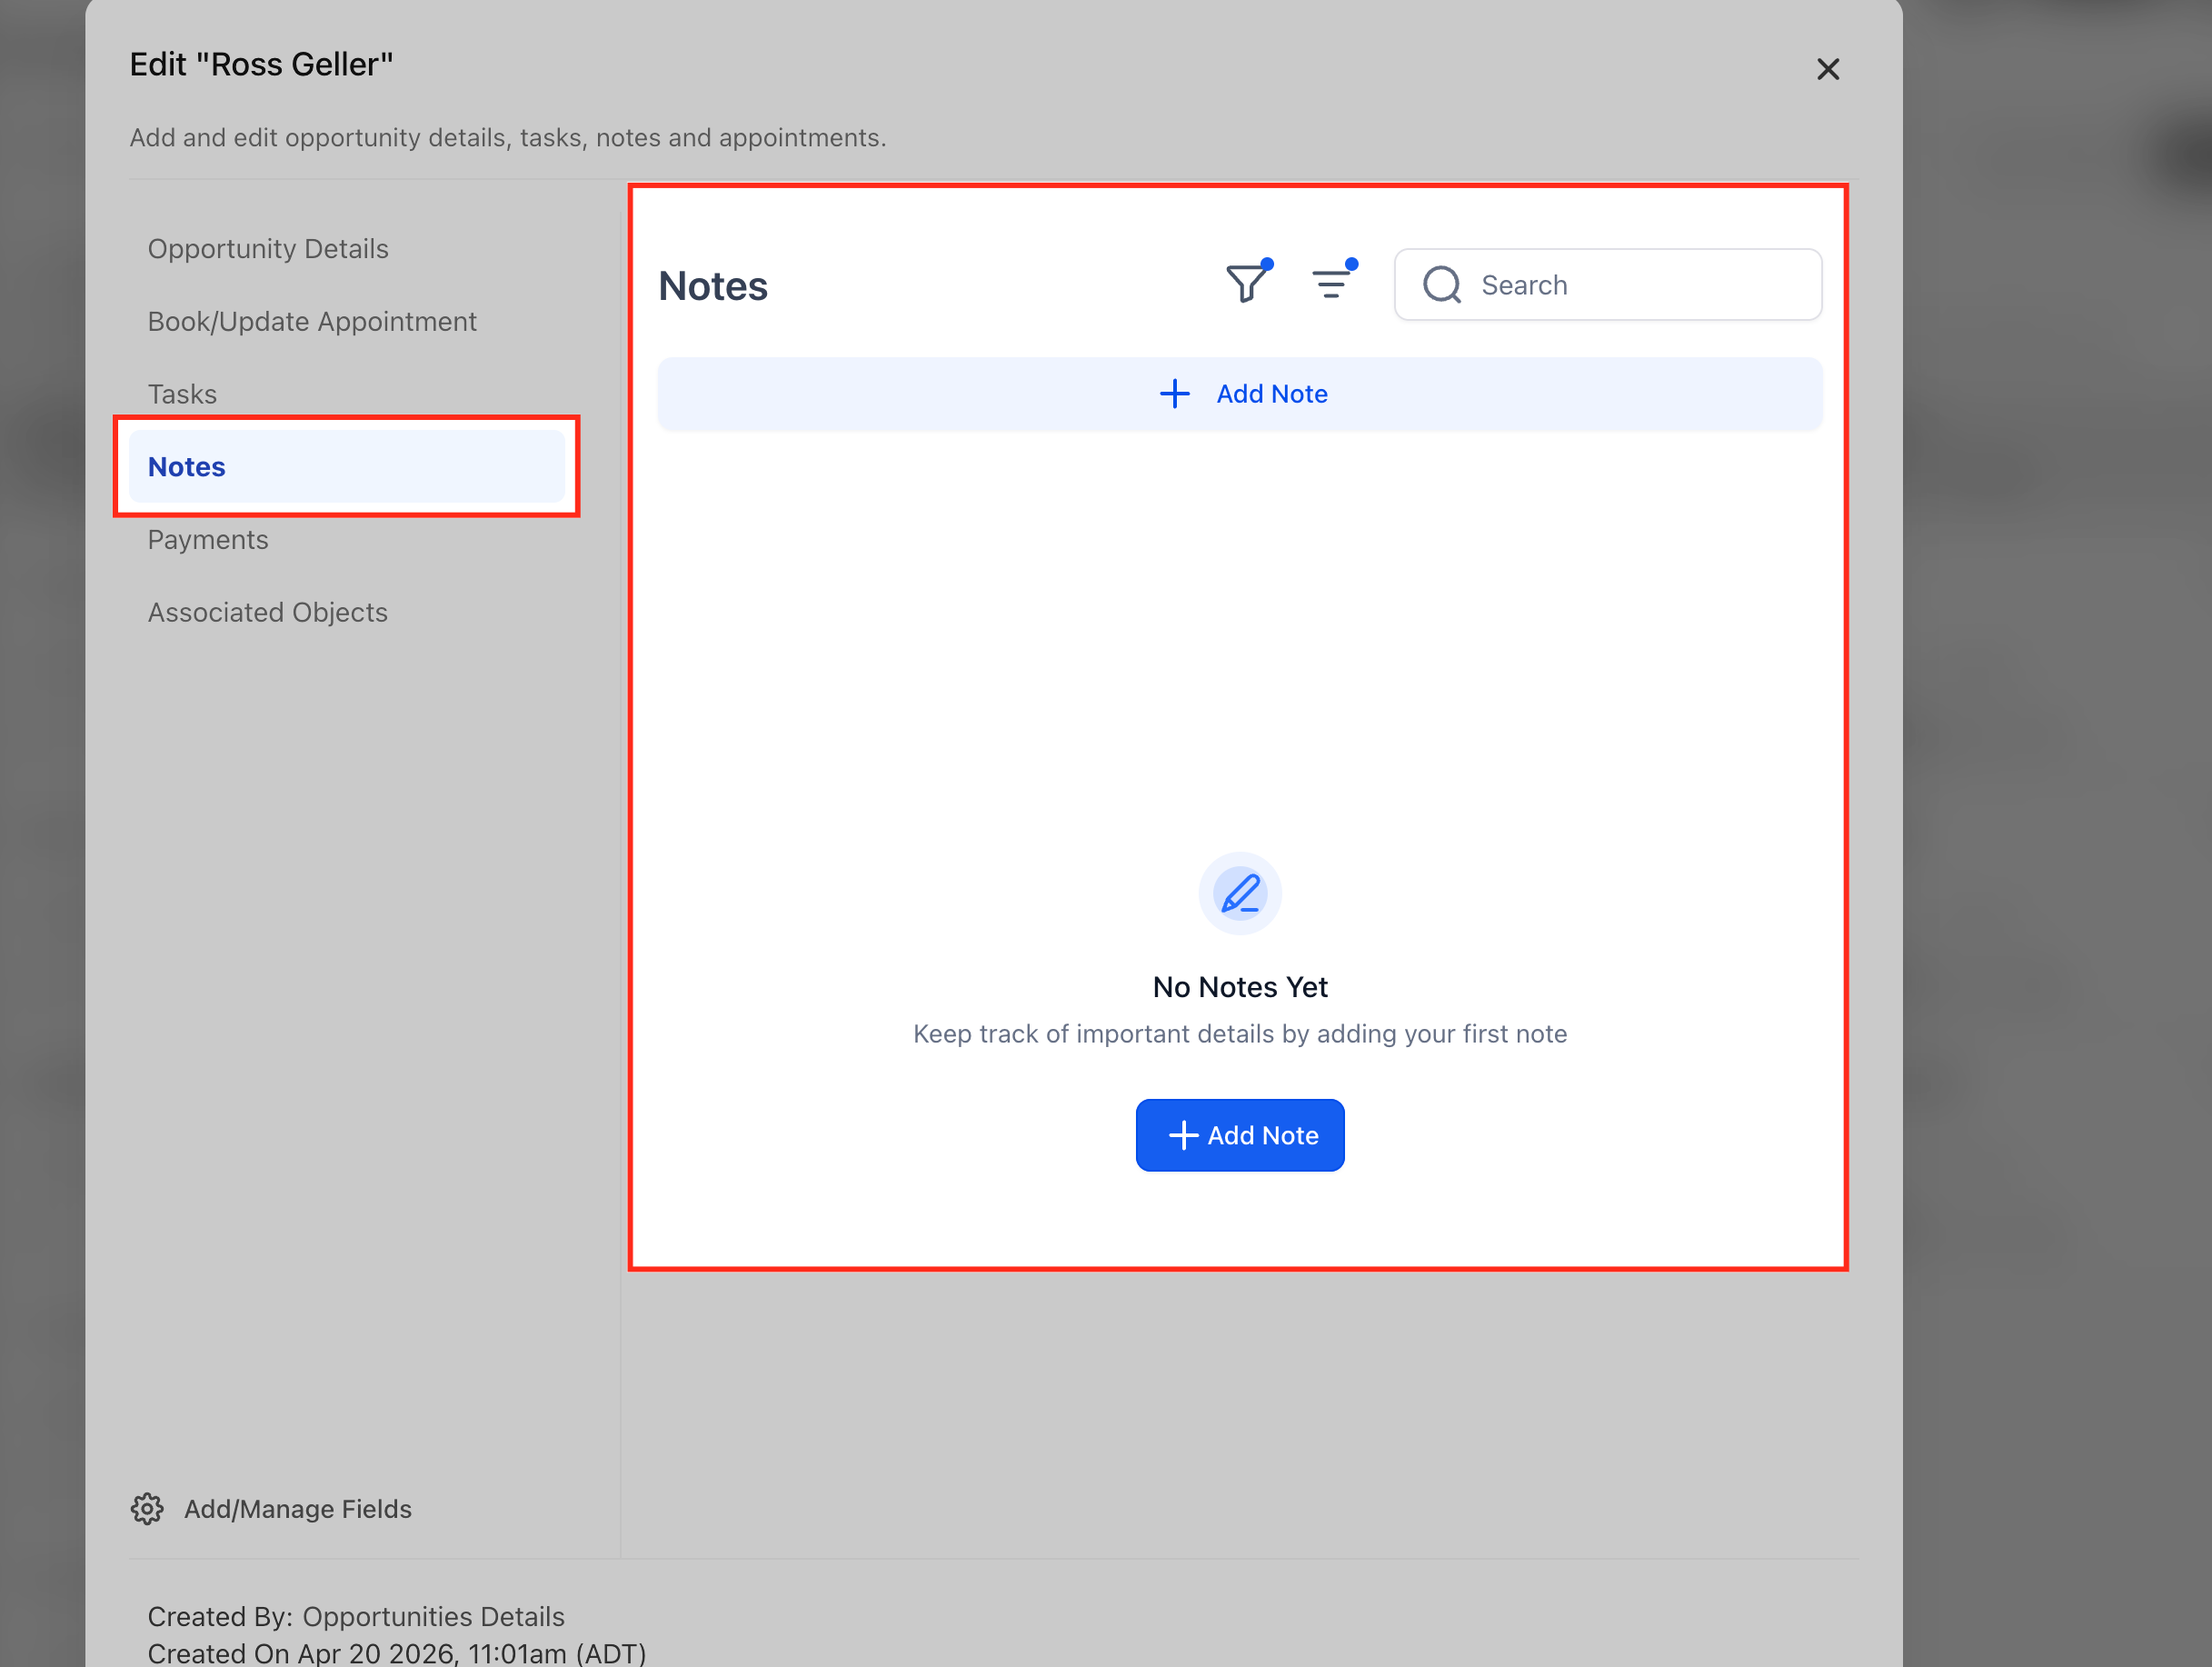
Step 5: Adding Notes and Attachments
- If necessary, add new notes or additional information about the opportunity by clicking on the "Notes" option in the left sidebar.
- All notes added here will also reflect in the corresponding contact's notes also.
Step 6: Setting Tasks and Reminders
- If there are specific tasks or follow-up actions associated with the opportunity, set tasks and reminders as needed by opening it from the sidebar.
- Assign tasks to yourself or team members, specifying due dates and priority levels.
- Similarly, you can also add appointments in the same way.
- Tasks and appointments added this way will also reflect on the contact's end.

Step 7: Managing Pipeline Stages
- Adjust the pipeline stage of the opportunity to reflect its current status in the sales process.
- Move the opportunity through different stages as it progresses towards closure, updating its status accordingly.

Step 8: Managing Opportunity Status
- Drag and drop the opportunity to any status as seen in the bottom to update it's status.
- Possible statuses for an opportunity are "Open", "Won", "Lost" and "Abandoned". Default status for a new opportunity is "Open".
- Marking an opportunity lost also allows you to add a lost reason for the same.

Other Important Links
Custom fields in opportunities
Tracking changes in opportunities
For hands-on help, email info@omnireach.co or chat with us directly!