App marketplace / Workflow Triggers & Actions
Marketplace Workflow Actions
Modified on: Thu, 15 May, 2025 at 12:03 AM
Marketplace Workflow Actions are the customizable workflow actions managed in Marketplace. You will be able to create custom actions to push or pull data from your application/API in a workflow using customized fields and API endpoint.
Marketplace Workflow Actions are part of LC Premium Triggers & Actions and are chargeable per execution.
How to enable and rebill LC Premium Triggers & Actions for Workflows?
You should enable Workflow LC Premium Triggers & Actions for the sub-account to access the Actions created in the Marketplace App.
The marketplace workflow actions created in an APP will be listed in the workflow actions only if the sub-account has the APP installed/integrated from the Marketplace.
TABLE OF CONTENTS
- Multi-branch
- Action Execution
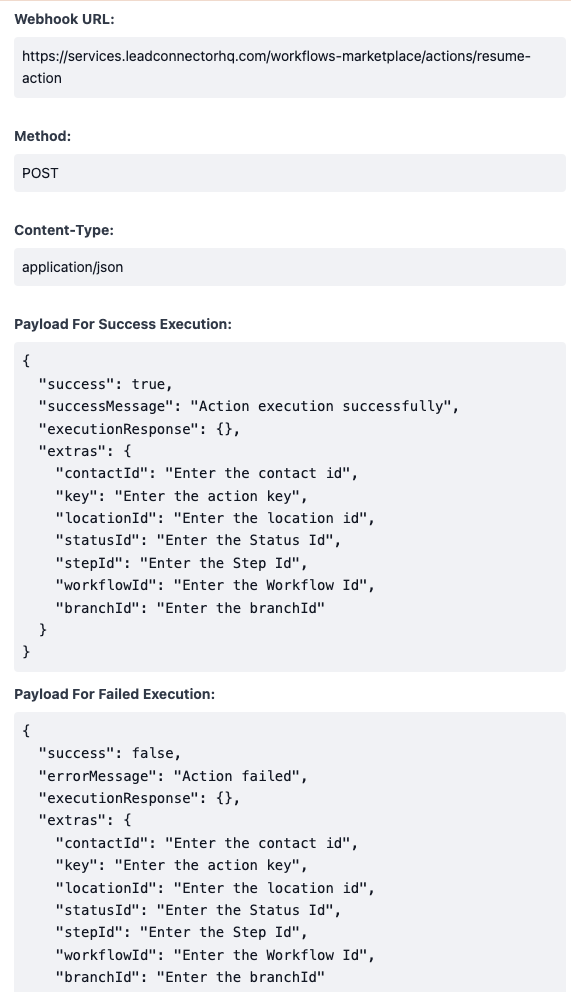
- Pause Execution
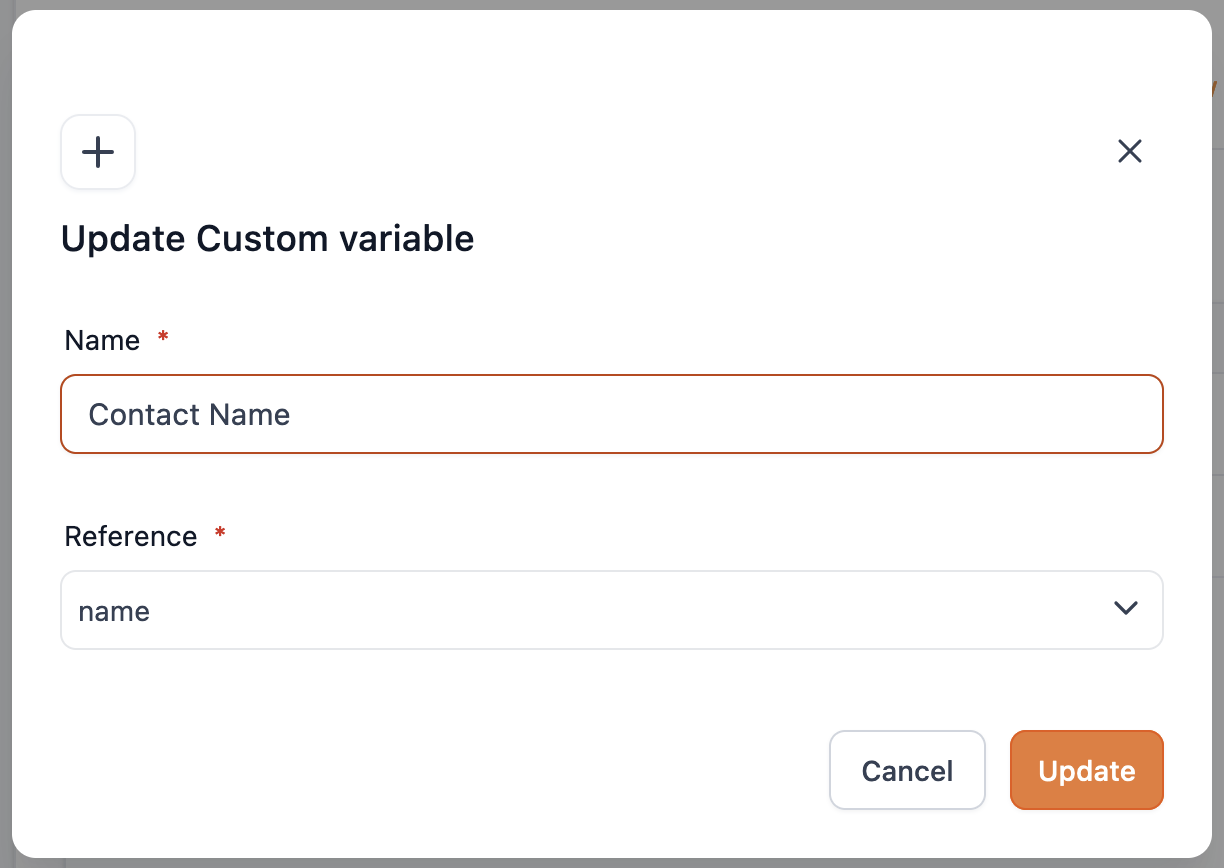
- Manage Custom Variables
- Add Custom Variable
- Submit for Review
- Create New Version
- Delete Action
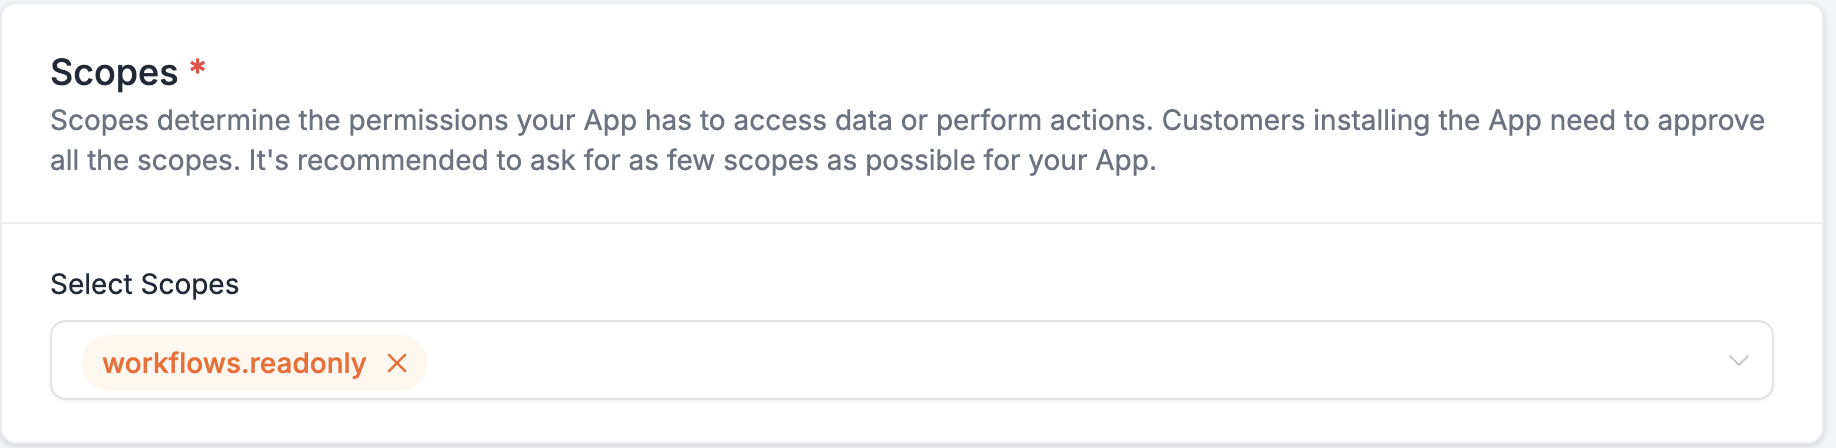
Prerequisites
Note : workflows.readyonly scope should be turned on to enable actions and triggers.
Create Action

Name
Enter Action Name
Key
A unique identifier for this action, used to reference the action inside the workflow. This value cannot be changed later. Example: {{mycustomaction.data.name}}
Action Information
Add action details

Icon
Choose an Icon for this Action. Shown in workflow for this action.
Name
Custom Action Name
Key
A unique identifier for this action, used to reference the action inside the workflow, Ex: {{action_a.custom_variable}}. This value cannot be changed later.
Short description
A short description explaining what your action does to help users understand. Shown in workflow as sub-title for this action.
Summary
A detailed information on what your action does to help users understand why they should use this action.
Action Configuration
Manage Fields
Construct form to collect the data required for sending to API

Create New Field


Name
Enter Field Name
Type
Select one of the following field types:
- String
- Numerical
- Textarea
- Select
- Multiple Select
- Radio
- Toggle
- Checkbox
- Attachment
- Rich Text Editor
- Hidden
- Dynamic
Required
Enable if this is a required field in workflow.
Reference
Enter unique reference key. The value of this field will be bind to the provided key. Example: action_a_name
Default Value
Enter or map a value. The value provided will be used as default value for this field when loaded in workflow.
Alters Dynamic Field
If enabled, any changes made to this field value will trigger/ re-trigger loading the dynamic fields to the workflow action configuration UI.
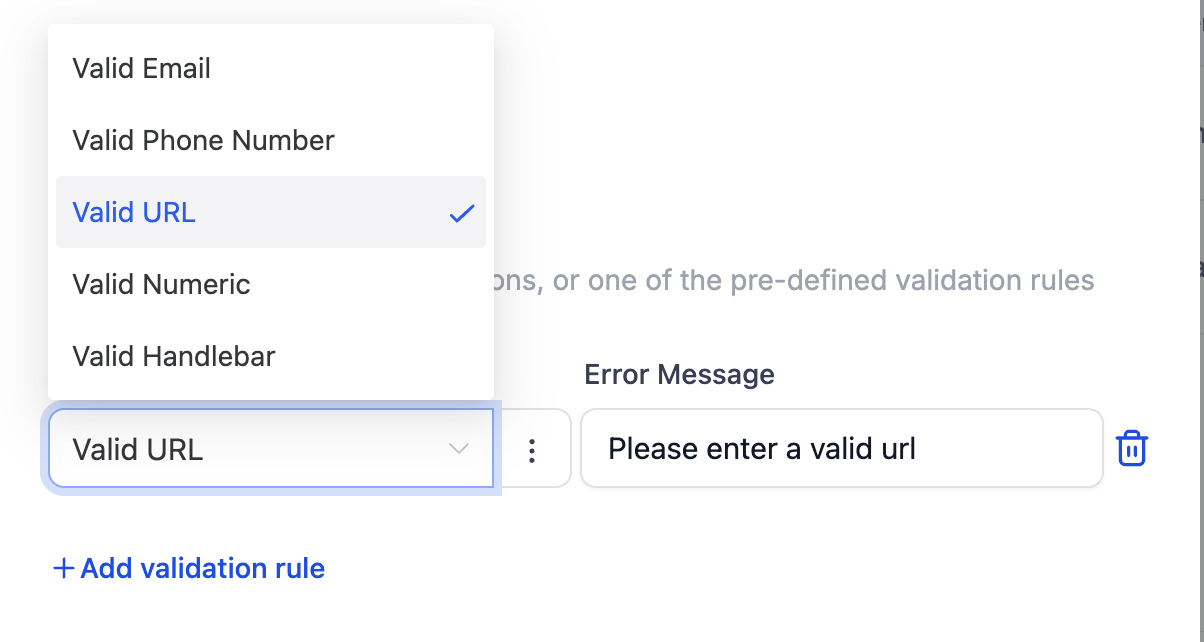
Validation Rules
Validation Rules let you protect data quality by checking the value a user types into a form field, table cell, or configuration input before it is saved or passed downstream.
If the value fails the check, OmniReach blocks the save/submit action and shows a custom error message that you configure.
Typical use-cases
| Scenario | Example |
|---|---|
| Lead-capture form | Require a properly-formatted US phone number |
| Web-hook payload | Ensure a “status” field matches one of several allowed strings |
| Custom action parameter | Block users from entering Handlebar syntax in a plain-text field |
Type: Select / Multi Select / Radio

Option Type is applicable only for Select, Multi Select and Radio field types.
Select one of the following option types:
- Constants
- Internal Reference
- External API
Constants
Load options by adding custom Label-Value constants

Internal Reference
Load options from OmniReach Internal Modules. Select one of the OmniReach Modules to load options list.
 Supported OmniReach Modules

External API
Load option from external API endpoint

URL (GET)
Provide a URL to support GET method and send a valid response as per the sample response structure shared below.
Headers
Add headers as per your requirement
Sample Response Data
{
   "options": [
      {
         "label": "Afghanistan",
         "value": "AF"
      },
      {
         "label": "Åland Islands",
         "value": "AX"
      },
      {
         "label": "Albania",
         "value": "AL"
      },
      {
         "label": "Algeria",
         "value": "DZ"
      },
      {
         "label": "American Samoa",
         "value": "AS"
      }
   ]
}
Type: Hidden
It will be hidden in the action configuration and the mapped data will be sent in the payload. Used to collect essential information such as company_id, customerid, etc,. from system data or from your custom triggers

Type: Dynamic
Dynamic fields are used to build custom fields from an API call. The API call should return the below response structure to construct the fields in the Workflow action configuration form UI. Only one Dynamic type can be created per action.

URL (POST)
Enter your API endpoint URL. When executed data is sent to this API endpoint via POST method in the below mentioned payload format and a valid response is expected as per the sample response structure shared below.
Headers
Add headers as per your requirement
Sample Payload:
The form data is sent as payload to the dynamic field API
{
   "data": {
        "name": "John Doe",
        "age": "29",
        "gender": "male",
        "hobbies": ["sports", "music"],
        "address": "My Address",
        "country": "US",
        "profileType": "public",
        "dataShare": true,
        "tems": true,
   },
   "extras": {
        "locationId": "xyz",
        "contactId": "abc",
        "workflowId": "def"
   },
   "meta": {
        "key": "custom_action_key",
        "version": "1.0",
   }
}
Sample Response Structure:
Sections are used to group the fields in UI
{
   "inputs": [
      {
         "section": "Personal Info",
         "fields": [
            {
               "field": "name",
               "title": "Name",
               "fieldType": "string",
               "required": true
            },
            {
               "field": "age",
               "title": "Age",
               "fieldType": "numerical",
               "required": true
            },
            {
               "field": "gender",
               "title": "Gender",
               "fieldType": "select",
               "required": true,
               "options": [
                  {
                     "label": "Male",
                     "value": "male"
                  },
                  {
                     "label": "Female",
                     "value": "female"
                  }
               ]
            }
         ]
      },
      {
         "section": "Location Info",
         "fields": [
            {
               "field": "village",
               "title": "Village",
               "fieldType": "string",
               "required": true
            },
            {
               "field": "city",
               "title": "City",
               "fieldType": "string",
               "required": true
            },
            {
               "field": "fullAddress",
               "title": "Your Full Address",
               "fieldType": "textarea",
               "required": true
            }
         ]
      }
   ]
}
Sample structure for each Field Types
String
{
   "field": "name",
   "title": "Name",
   "fieldType": "string",
   "required": true
}
Numeric
{
   "field": "name",
   "title": "Name",
   "fieldType": "numeric",
   "required": true
}
Textarea
{
  "field": "description",
  "title": "Description",
  "fieldType": "textarea",
  "required": true
}
Select
{
   "field": "gender",
   "title": "Gender",
   "fieldType": "select",
   "required": true,
   "options": [
      {
         "label": "Male",
         "value": "male"
      },
      {
         "label": "Female",
         "value": "female"
      }
   ]
}
Multiple Select
{
   "field": "hobbies",
   "title": "Hobbies",
   "fieldType": "multiselect",
   "required": true,
   "options": [
      {
         "label": "Sport",
         "value": "sport"
      },
      {
         "label": "Music",
         "value": "music"
      }
   ]
}
Radio
{
  "field": "profileType",
  "title": "Profile Type",
  "fieldType": "radio",
  "required": true,
  "options": [
      {
          "label": "Public",
          "value": "public"
      },
      {
          "label": "Private",
          "value": "private"
      }
  ]
}
Toggle
{
  "field": "dataShare",
  "title": "Allow my data to be stored",
  "fieldType": "toggle",
  "required": true
}
Checkbox
{
  "field": "terms",
  "title": "Terms & conditions",
  "fieldType": "checkbox",
  "required": true
}